Blackberry Jam Recipe
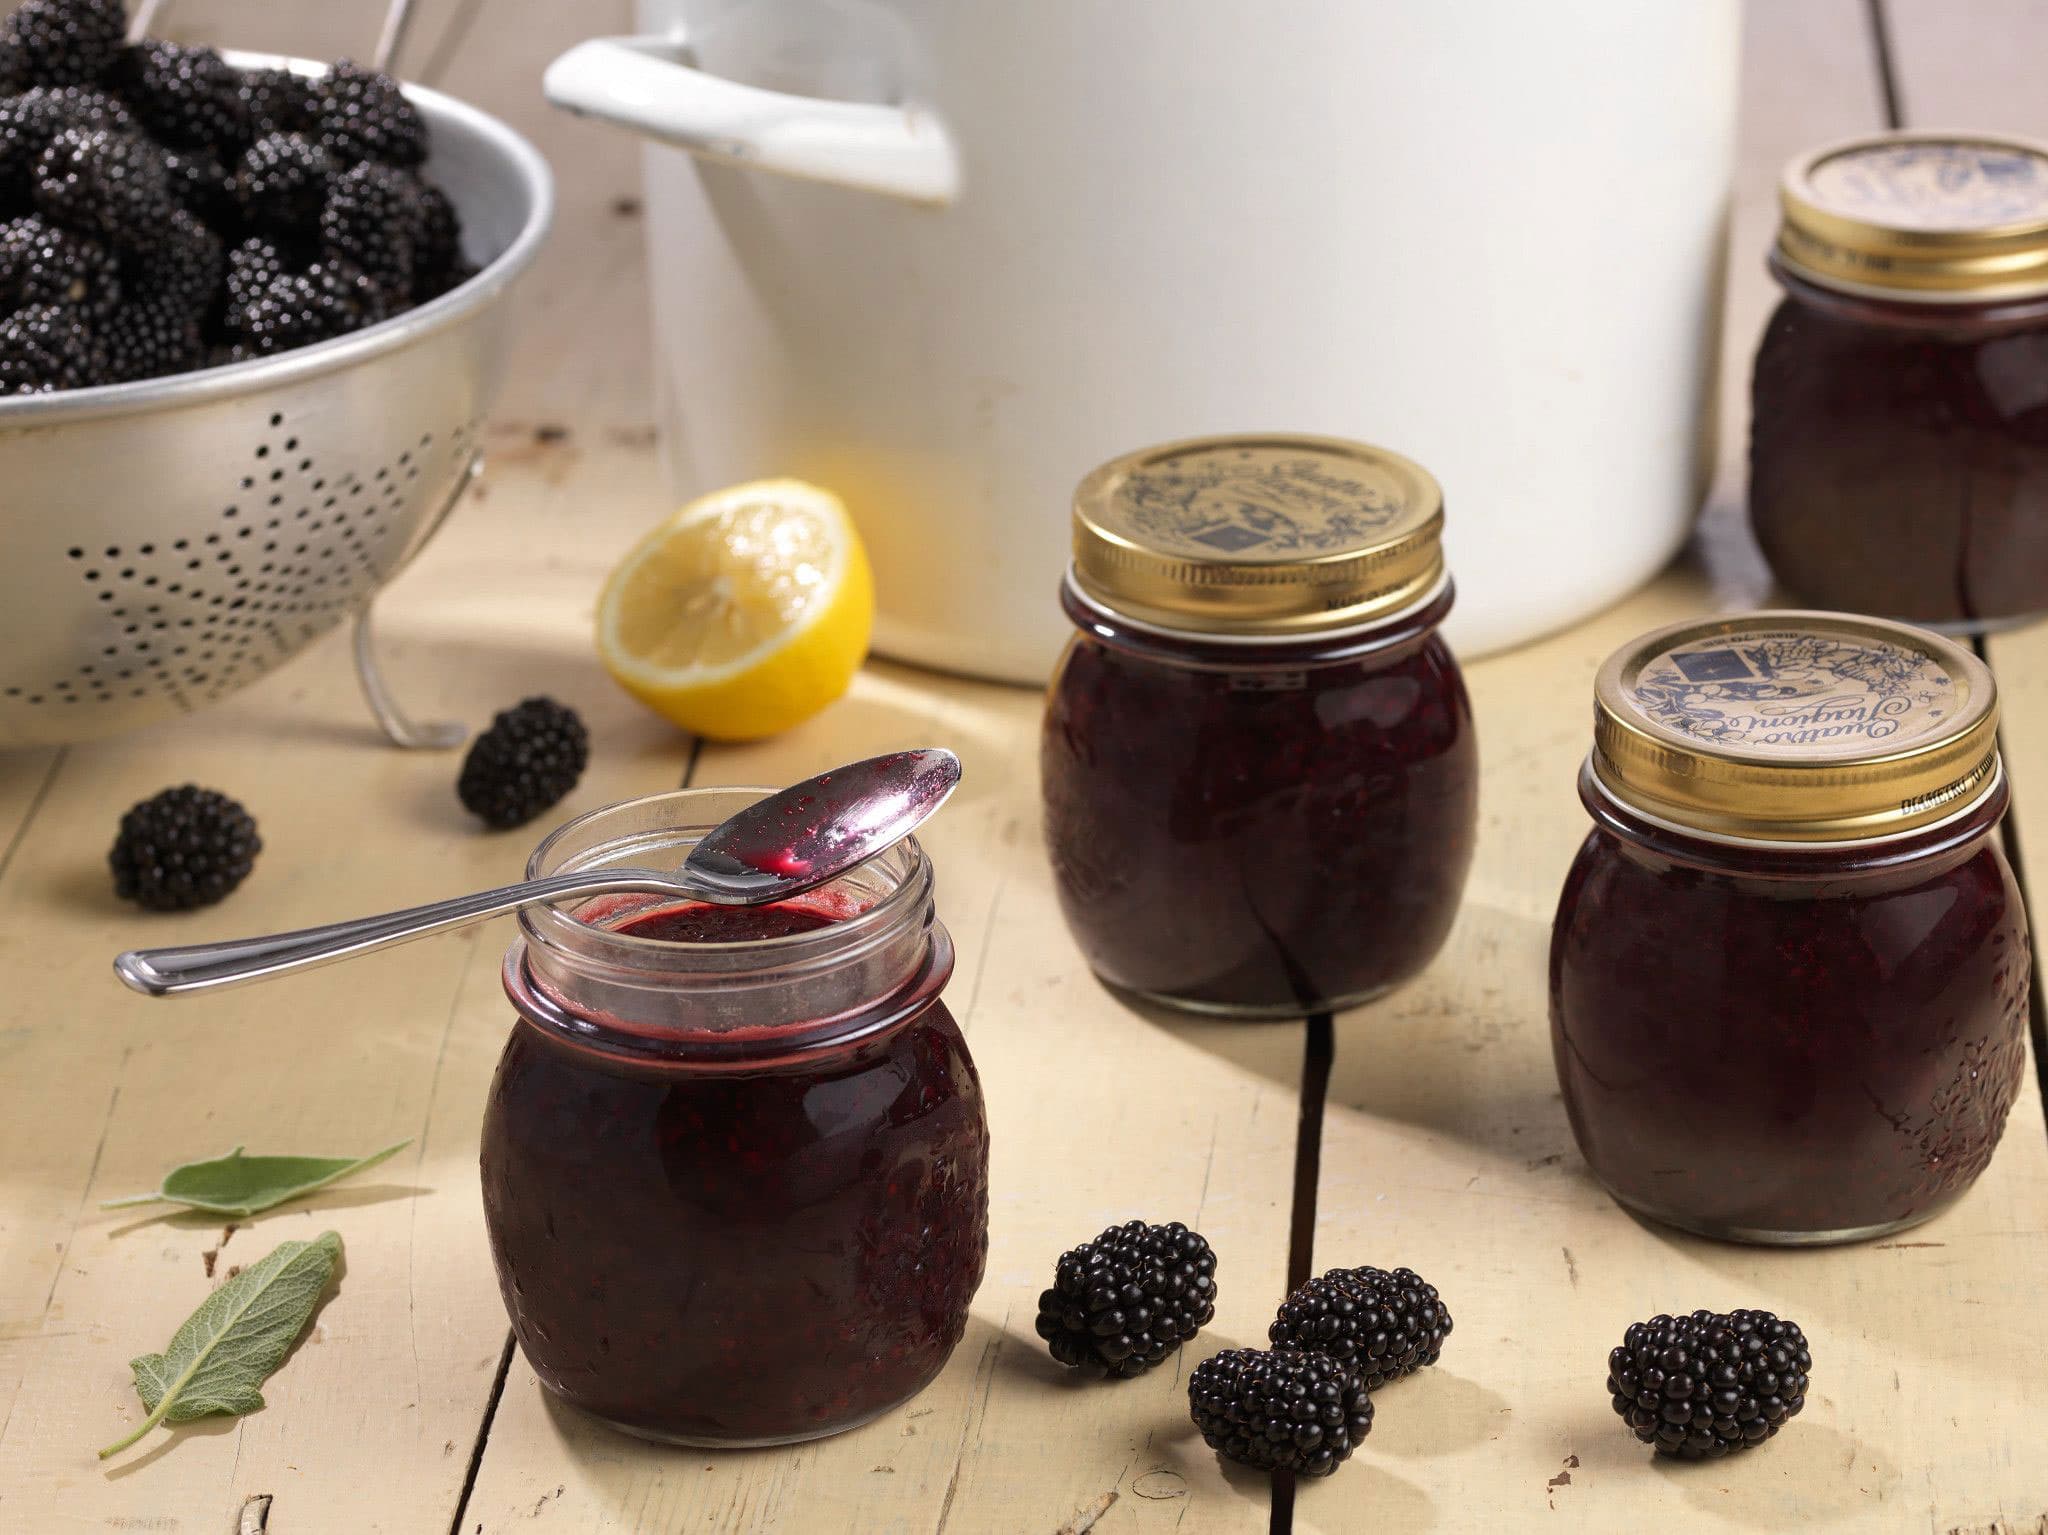

Create a wonderful fresh blackberry jam with the unique addition of sage. This simple small-batch jam recipe includes instructions for canning the jam to enjoy at a later date, but it could also be stored in the refrigerator. If you're not canning the blackberry jam, enjoy jam within a week or two.
Prep Time:
20 minutes
Cook Time:
45 minutes plus cooling
Serves:
3.5 pints
Perfect for:
Dairy Free
Holiday Giftables
Ingredients
- 9 Packages (6 ounces each) Driscoll's Blackberries
- 4 Cups sugar, divided
- 20 fresh sage leaves, chopped
- Juice of 1 lemon
- 1 Tbsp. butter (optional)
- Zest of 1 Lemon
- 1 Package (1.75 ounces) low-sugar/no-sugar pectin
Directions
- PLACE a small dessert plate into refrigerator to CHILL until needed.
- PREHEAT oven to 200°F.
- CLEAN 7 half-pint canning jars with hot soapy water.
- PLACE jars upside down on a cookie sheet and PLACE cookie sheet into oven until needed.
- PLACE canning jar disks into a small saucepan filled with water and HEAT over low heat until needed.
- FILL a large pot with water and heat to boiling.
- PLACE 9 packages blackberries into a medium saucepan.
- ADD the zest of 1 lemon.
- ADD the juice of 1 lemon.
- ADD 2 cups sugar.
- BRING to a boil over high heat.
- ADD 1 tablespoon butter if mixture becomes too foamy (optional).
- REDUCE heat to medium and SIMMER 20 minutes and STIR occasionally to prevent burning at bottom of pan.
- TRANSFER half of blackberry mixture to the bowl of a fine mesh sieve and PRESS with the back of a ladle to STRAIN out seeds.
- RETURN strained blackberry mixture to saucepan and DISCARD seeds.
- ADD 20 chopped sage leaves.
- PLACE remaining 2 cups sugar into a medium bowl.
- ADD 1 package low-sugar/no-sugar pectin and WHISK thoroughly to combine.
- ADD sugar mixture to blackberry mixture.
- STIR until sugar mixture is completely dissolved.
- BRING mixture to a boil over high heat and STIR often to prevent burning at bottom of pan.
- REDUCE heat to medium and STIR often until mixture begins to thicken and surface looks glossy.
- PERFORM doneness test: Drop a small spoonful of jam onto chilled plate, wait 3 minutes until jam is cooled, run a finger through jam. Jam is done when it does not run back together. If jam runs back together continue to simmer and stir until it reaches desired thickness.
- REMOVE one canning jar from oven using a hot pad and/or tongs.
- LADLE jam carefully into jar and LEAVE 1/4 inch at top of jar.
- WIPE jar rim carefully with a wet paper towel to REMOVE any spilled jam.
- PLACE 1 canning jar disk onto jar using tongs.
- PLACE 1 canning jar ring onto jar and tighten only finger-tight. Do not over tighten.
- REPEAT with remaining jars.
- PLACE jars into pot of boiling water and ENSURE jars are covered by at least 1 inch of water.
- ALLOW jars to boil 10 minutes (high altitudes may require additional boiling time).
- REMOVE jars from water and REMOVE canning jar rings.
- PERFORM sealing test: Lift jars slightly by edges of canning jar disks. Jars are properly sealed if disks stay in place. Replace canning jar rings onto jars and store up to 1 year before using. Improperly sealed jars should be stored in refrigerator and jam used within 3 weeks.
- This recipe was created by Marisa McClellan from Food in Jars. Click here to read her blog.

